Showing posts with label Tutorial. Show all posts

Wednesday, 26 April 2017

Russian floral egg, Fairies and Rudolph Day's


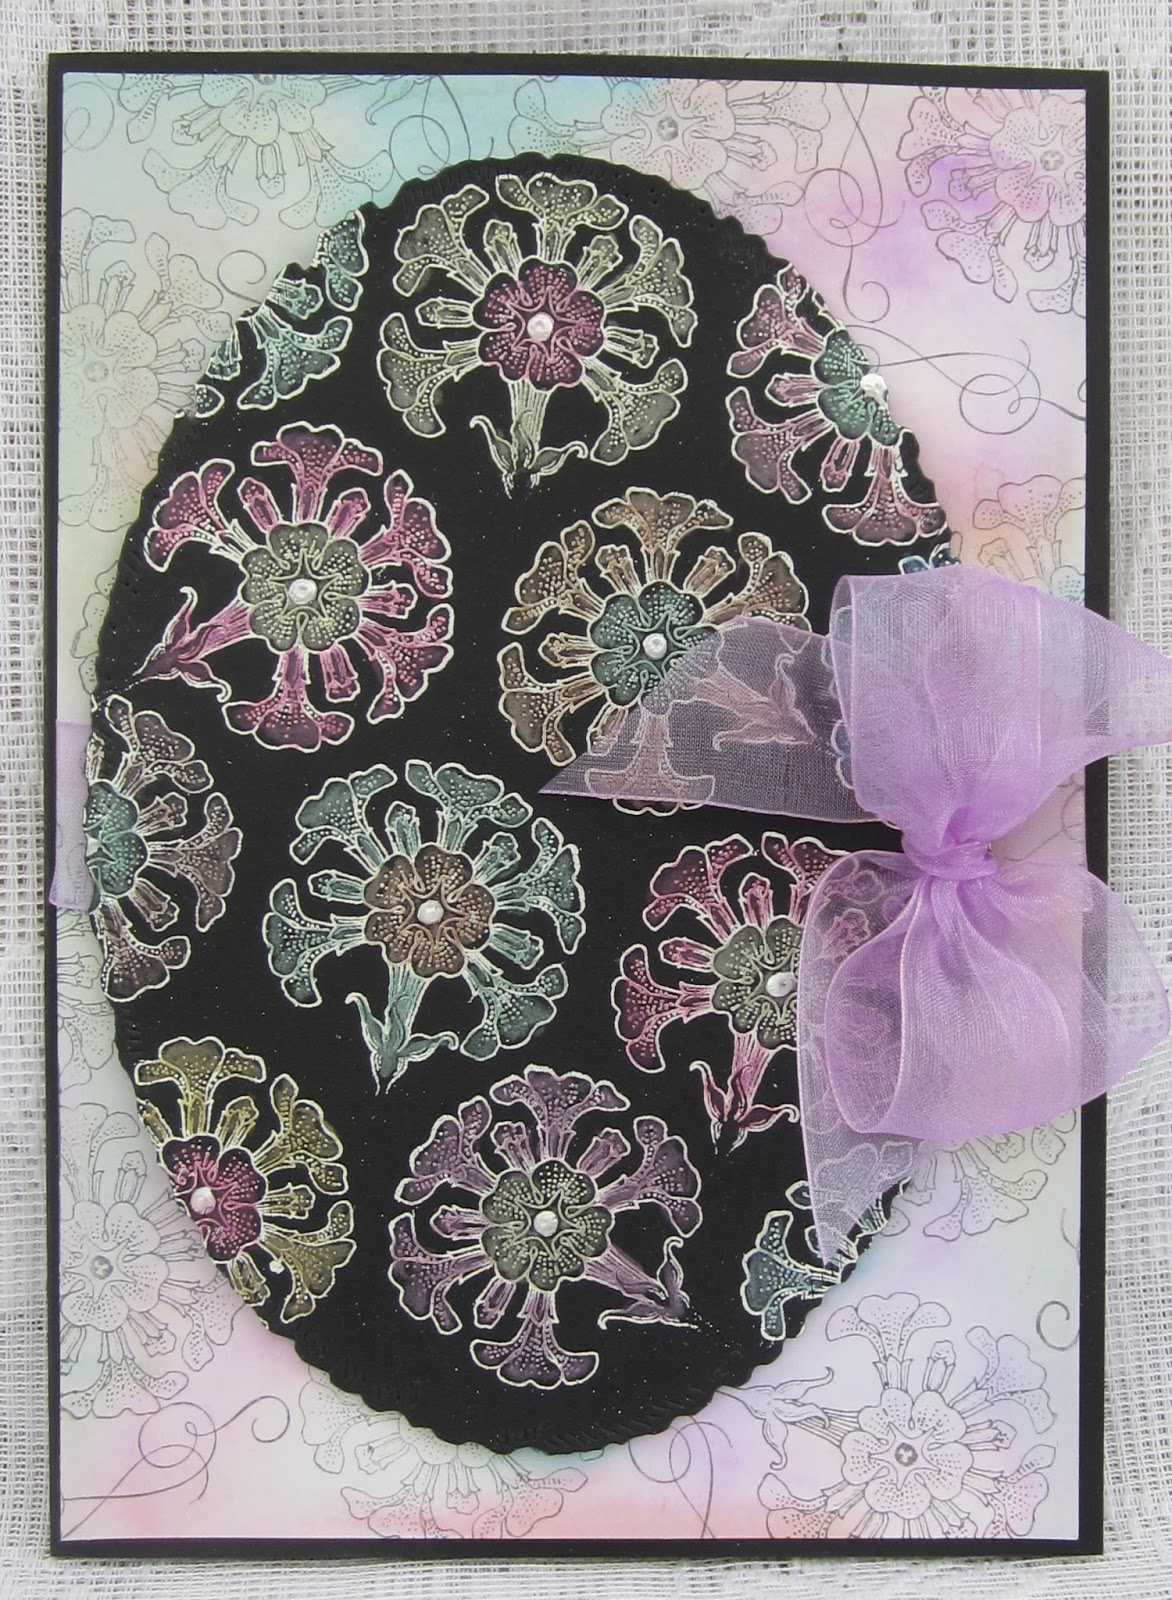
I'm here with another GDT make for the Chocolate Baroque DT blog and showcasing another of the fabulous Russian influenced stamps launched on Hochanda, these were exclusive to them initially but I believe you will now find them on the Chocolate Baroque web site as well. Further down are a few of the samples I made for Chocolate Baroque's Hochanda shows on Monday.

I decided to make an easel drawer card and fill it with some mini chocolate eggs, it's ages since I made one of these and was more than a little shocked to see how long ago it was when I did the tutorial for it here (should you fancy making one)..............where on earth did those seven years go ?


I digress, as usual you will find all the details form making this one over at the CB DT blog along with the link to the gorgeous Russian Floral Egg which I used.


The April Rudolph Day's kicked off yesterday over at Mo's blog and again I am all prepared. Mind you I may not be quite as keen on making Christmas cards in another month or so as the time has come to start preparing samples for the Christmas TV shows, every year they seem to start selling Christmas products a bit earlier than the previous year.

It's a pretty quick and simple card using an Inkylicios image stamped in black archival, some Pan Pastels for a little colour and snow glitter, then an aperture cut into a top panel which I embossed with a holly folder, a stamped sentiment and some cord and finished.

And a few of my Fairy samples as promised above.....................


My thanks as always for popping by today.


Wednesday, 29 February 2012

Easter basket tutorial and Cup Winners


Good Morning, hope everyone had a good weekend and saw a bit of the lovely sunshine we had here in the Fens, it was really beautiful and Sunday quite warm as there was little or no wind.

Before I can talk craft I have to share a picture of the boys after our win at Wembley yesterday, it was something of a nail biter going to extra time and then penalties, but we got there in the end and are assured of  European footie next season, not to mention another trophy in the cabinet at Anfield. For those of you totally lost and not as mad and fanatical about footie as I am, I mean Liverpool FC !!


Silliness over, on to some craft and I thought I would share one of the little Easter baskets I have been making, the inspiration actually came from a demo I saw on TV for a rather expensive score board and it got me thinking I could probably come up with something similar using my cheapie MDF board which I've had for yonks and hey presto it worked a treat, so here is my take on the basket.


It's a really basic design and I am sure most of you can suss it out for yourself, but just in case I've done a few photos with sizes to help. Above is what I used for mine, one sheet of A4 linen cardstock, I 12x12 sheet DP, some ribbons, CopicsAquamarkers, scoring tool four eyelets, Nesie and stamp for the image which is Penny Black 2665K Blush and I also used Adirondack raspberry for the main part of the flower.


Start by cutting the A4 sheet of card down to a 21cm square  and score in both directions at 7cm intervals so your piece is divided into nine equal squares, the score the four corner squares diagonally as above. Crease all scored lines and you will see the shape of the basket coming together. The four diagonal corners scores need to be carefully folded inwards.

Next cut 17 - 6.5x6.5cm squares from the sheet of DP, leave 9 whole and cut the other eight in half diagonally, then stick all into place as below. Both sides will look the same with just one centre square blank, that will be your base.

Note: the basket in the picture at the top was my prototype and I didn't cover the folded in flaps, so if you prefer to do it that way to get some contrast you will only need nine of the 6.5cm squares and they won't need cutting in half as you will only be covering the whole squares, five inside and four on the outside.


Stamp your image four times and cut out with a Nestie, I then ran a Copic round the edge rather than matting and layering so as not to add too much weight. Stick on the four outer squares.......make sure you get them the right way up and not upside down as I did on my first attempt !!


Finally pop an eyelet into each of the four corners, draw the basket up into shape and thread ribbon through the eyelets. And walla, you have a pretty little basket to fill with goodies. I will share this pink and green version another day.


And of course you can change the size to larger or smaller, all you need to remember is that your chosen size will divide evenly by three so you get nine equal squares.

Wednesday, 25 January 2012

A pretty little box and tutorial


Good Morning one and all, I thought I would share a little box I made following the inspirational idea of Maria Simms demonstration on C&C a few days ago when as well as lots of lovely card, she made a very pretty box which I just has to try.

Maria was using Spellbinders and took one of them as her template to create a five sided box, but as I don't have any that shape I used my scoreboard...................just a cheap and cheerful one, not one of these fancy ones that have instructions for all sorts................to create a eight sided box as I thought this shape would be easier to work with. As well as Spellbinders to decorate I cut some little panels with Ruth's new Lily of the Valley Image at A Passion for Stamps.

And I thought I would get a step ahead of you before I get the inevitable questions about sizes etc., and do a little tutorial on how I made my version of Maria's box.


Here's what I used:

1 sheet A3 cardstock  (but you could use all A4 and join the lengths for the sides)
1 sheets A4 cardstock
Black cardstock to decorate
Dries clear glue


I cut two lengths  from the A3 sheet to 9cm x 34cm. I scored one at 4cm intervals to create 8 panels plus a 2" one at the end to fix into a octagon shape. I did exactly the same for the bottom of the box, but scored the sections a fraction smaller to allow the lid to fit over.


I used the assembled shapes as a template to cut two pieces slightly smaller than the assembled boxes to use as inner bases to give the box more rigidity and two further pieces 1cm larger to act as the top and base of my box.


I snipped a 1cm cut into each scored edge on one end of both pieces, then folded the little flaps inwards and glued the smaller pieces inside both pieces onto the flaps.


Next the top and bottom larger pieces can be glued into place.


You are now ready to decorate you box as you like.


I used Spellbinder Parisien and Fleur de Lis accents and the flowers mentioned above. And you can of course adjust the box to other sizes, I have done a second one cutting the two main section to 11cm high.

You now have an assembled box to 


I hope all of this makes sense and do let me know how you get on as I would love to see your boxes. Also thanks to Maria for the inspiration.

Saturday, 26 February 2011

Background technique explained

Hi folks, it seems that during Stamp Addicts live Create and Craft TV show this morning the lovely Nigel asked me to mail in to explain what I had done for the background on one of my samples for the show. But as I recorded it I was too late to mail in, so I thought the next next thing was to explain here. Apparently the programme is on again at 6pm, but of course that will be a repeat.

I used one of the lovely messy techniques I love doing starting with a piece of mount board or really sturdy cardstock. Three steps:

1) Pain all over with acrylic paint......I tend to use a darker colour for this. Wait for it to dry or use a heat gun.

2) Pain with a layer of PVA glue which had been very slightly thinned with water, dry again but if you use a heat tool be careful not to go too close or the glue will bubble and spoil the finished look.

3) Pain over the glue with a lighter shade of acrylic paint. Leave to dry for half an hour and you will see the cracks appear to give the peeled pain look. If using a heat gun to dry, be careful as in 2) above.

You can them stamp on it with such as Stayzon or Archival ink. I have even used versafine black, embossed with detail clear and coloured with Copics. The frame is a Nestie.

There is another example using this technique here.

Sunday, 28 November 2010

Easel box card tutorial

I'm on a tutorial roll this morning, I've been promising this for so long so and as I posted one of these easel box cards in my post yesterday decided it was time I got on with it, plus the tri fold card which you will find in the post below this one.

All measurements on this one are metric and you can blow each one up to get a closer look by right clicking over the picture.

You will need four sheets of A4 cardstock, or if you use A3 and juggle the pieces about a bit you should get away with one of those and one A4. Also, a scoreboard, ruler, glue....I uses Art Institute dries clear as it's an almost instant fix and as the name implies dries clear.....two 12x12 sheets of DP and a tassel or large brad for the draw handle. I like to use double sided or coordinating DP as this gives the best visual result. Plus your easel card to fit on top.

Cut out all pieces and score as per the pictures (see note below fig 4 before you cut).

fig 1

Join A & B on box parts one and two (fig 1&2) by folding over each other butting to the folds, so you have one long piece. Now fold the whole piece round to form a box shape and glue the longest flap over the shorter one - this should butt to the corner fold and give a perfect box shape.

fig 2

fig 3
Score all round the drawer piece as above, then cut a triangle section out from each corner piece. This then folds inside the next section to create your drawer. I use the same glue for this and find it helps to keep a good shape if you pop a paper clip on each corner until it's totally dry.

fig 4

You can add any shape easel card on top, but if you are going all square as the one below, you can cut this piece all in one : i.e 148 x 296 and score in the middle so that you have the top of your box and base of easel all in one. Then you just need an extra 148 square piece for the main focal element.

Cover all sections of your assembled box with DP's and that's it other that whatever design you add to the top. As always, please mail me with any questions.


Tri fold card tutorial

As promised here are the instructions to make a tri fold card like the one I posted the other day here and below. I know there are lots of different styles of this fold card and tutorials out there in blogland, but I wanted to come up with one that involved the minimum amount of cutting and faffing about and this one uses an A4 sheet of card as it comes without any trimming. All measurements for this one are in good old fashioned inches.

All you need to create the card is one whole A4 sheet of cardstock, a ruler and/or scoring board, pencil and craft knife.


I have tried to make the picture as clear as possible, but you can always click on the picture to get a closer look if any of the measurements are not clear enough. Hope you find this easy to follow, but any problems please do ask me (e.mail on my profile page).


Monday, 25 January 2010

Moons, suns and masking turotial

I have been asked several times if I will do a tutorial to explain in a bit more detail how I create some of my backgrounds. Most of what am going to show here is what I have picked up over the years from various sources and I am not trying to teach anyone to suck eggs........but going back a few years I would have loved to discover how to achieve certain things. Therefore I hope this might help some of you and as with all things crafty I have made little changes over the years to fit with what I am trying to create.

The first technique is to create a simple sun, but equally it could be a moon with a change of ink colours. Basic materials: Ink, preferably two shades of the same colour ink or similar colourways to add definition and to help build the image. For a moon a blue and silver work well. I always use either Tim Holtz distress inks or a chalk based ink such as the Hero range. Make up sponge and your mask which is a piece of paper or card with a circle punched out.
Lay your mask over the piece of card you want to use for your project. Take the make up sponge and roll into your fingers as shown below. By rolling it you avoid any edges and will get a smoother finish without any harsh lines.
Tap the rolled sponge into the lightest colour ink first, dab onto a piece of scrap paper first to remove excess ink, then tap gently round the edges of the circle, slightly firmer near the edges - I never go right into the centre of the circle with ink as this gives a more graduated finish (example). Follow the same process with the darker ink until you are happy with the shading.
Lift the mask off, allow to dry for 5/10 minutes, or give a blast with your heat gun, then you are ready to stamp your images.

The next technique takes it a step further as you create a mask for your sun/moon and image. This is useful if you want to use very light colours for colouring your image as there is no underlying colour to conceal.
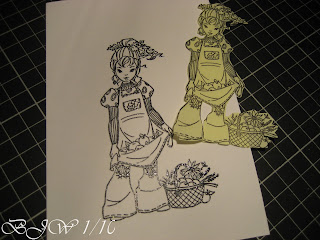
Stamp (and emboss if you wish) your image onto a piece of good quality cardstock. Stamp it a second time onto a post it note, piece of paper or if you are really posh masking paper !

Cut our the second image and lay it over the main image, then lay your mask (sheet of paper with the circle cut out) over the image where you want to see the sun/moon. Follow exactly the same process as the first technique above. Lift of both the circle mask and the main image one and you are left with the sun/moon behind your image.

Basic brayering technique. There is no limit to how far you can take brayering and some wonderful effects can be created, but here I will stick to the sun/moon again with a few hills thrown in for good measure. Basic materials: Ink pad, big and juicy are by far the best as apart from the blend of colours, they are large enough to accommodate the brayer - I always use a speedball brayer as they are soft and give a nice even finish. A circle - paper rather than card is best as it is less likely to give off shadows as you roll the brayer across. Non permanent glue. Gloss cardstock - in my view essential as a matt cardstock can absorb the ink, is harder to work with and is less likely to give an even finish.

Place the circle onto the gloss cardstock roughly where you want to see it on your finished project attaching it with the non permenant glue which will gently rub off yur cardstock when you have finished. Gently roll your brayer back and forth over the inkpad, ensuring you keep it to the same area - if you move it sidewards too far you will contaminate the colours. When it is covered roll it briskly over a piece of scrap paper to remove the excess - this might seem wasteful but you need to start with a lighter tone - you can always add more, you can't take it away once it's on your cardstock.

Once you have removed the excess you need to do a wheelie - assuming you are starting to brayer the top half of your piece first (and right handed) you will need to do the wheelie on the left hand side of the brayer. This removed the ink from the edge and will prevent lines in the middle of your cardstock.
Gradually build the colours up with light movements drawing the brayer towards you. When you are happy with the colour, turn your cardstock round so the bottom becomes the top temporarily (there will be no ink on that part yet) then continue with the same process and you will end up with graduated colours over your whole piece.

Next tear a piece of plain paper, lay it over your brayered piece, ink up your brayer again and remove the excess and brayer more ink across the top of your piece of cardstock (part of your brayer will be inking the piece of paper). Move the paper down and repeat and you will see your hills building.

This picture is pretty poor as I did the photos under my daylight lamp, but the hills are just visible. These are clearer.

Remove the mask from the sun/moon. Scrunch up a piece of plain paper, ink up your brayer, take off the excess ink, do a wheelie on the left side again then roll with a fairly hard movement over the piece of scrunched up paper. Run the brayer over the top half of the card and you will create a clouded effect over the sun/moon - just about visible in the picture. The same technique gives great water effects if you want to create water/sea (see here).

I really do hope this makes sense, not the easiest thing to explain on paper, so as always any questions just yell.