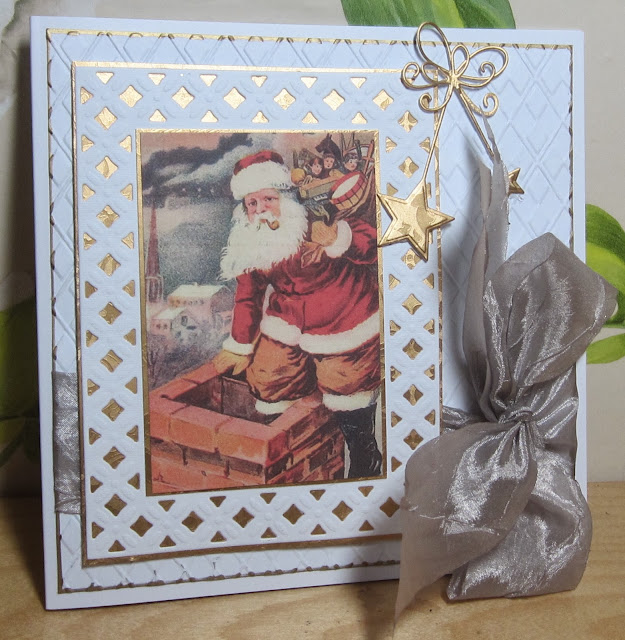
At Prickly Pear the Design Team take it in turns to do a tutorial for the store blog and this week it's my turn so not too surprisingly I kept well inside my comfort zone and have concentrated on Pan Pastels as an alternative to other more recognised colouring mediums and pens. And the above card is the basis of my tutorial which I would also like to enter my:
Addicted to stamps and more - CAS
Craft room challenge - stencils or masks (not totally sure if this form of masking counts ?)
Paper minutes - masking
Before I go on to my tutorial, don't forget that tomorrow we have a super prize competition starting here.
This is how I set about creating my piece of artwork and below my basic products:
Mask a piece of 10.5 x 14.5 watercolour cardstock to create a panel – I have highlighted the placement of the masking tape in pink to make it clearer to see. I also lay post it notes over the remainder of the piece to keep it clean.
Stamp your chosen image with archival ink into the masked aperture. I have tried various inks but always revert to archival for a smudge fee image. I also recently tried out using Pans with a computer printed digi image and to my surprise the ink stay put fine.
Next place masks over the stamped images – I usually cut several at a time from post it notes which you can do by stamping the image onto your top sheet and cutting three or four together.
Using your chosen background colour of Pan Pastels and Sofft sponges, sponge the un-masked areas building up more colour at the edges. I find using a paler shade first and then adding a darker shade of the same colour gives more depth.
Now remove the masks and colour the images using small ended Sofft sponge sticks, again using a paler and darker shade of the same colour. A little contrast can also be added to the centres of flowers for definition.
Notes you may find useful using Pan Pastels:
- If you make a mistake or add more colour than intended it can be simply erased with a standard soft rubber.
- Many believe Pan Pastels are the same as chalk but nothing could be further from the truth. They are a highly pigmented, very soft and blend seamlessly.
- If you struggle shading with distress inks or creating backgrounds with a brayer I think you will find Pan Pastels a perfect alternative.
- There are mixed views on setting Pan Pastels, I don't often set my artwork and have no problems with the colour shifting but if a piece is going to be handled a lot or perhaps for display then a quick spray of cheap hair spray will set it fast.
- The investment of the specialist Pan Pastel Sofft sponges is invaluable, they last for ages, I am only just replacing some of mine after abut eighteen months of regular and often harsh use over rough edges.
- Cardstock is important and I find the best results come with watercolour cardstock, my make of choice is Fabriano but any watercolour card offers the ideal slightly rough surface to grab the Pans or the reverse side of Centura Pearl is another favourite of mine.
As always, any question please do ask and thanks for taking a peek.


.jpg)
.jpg)